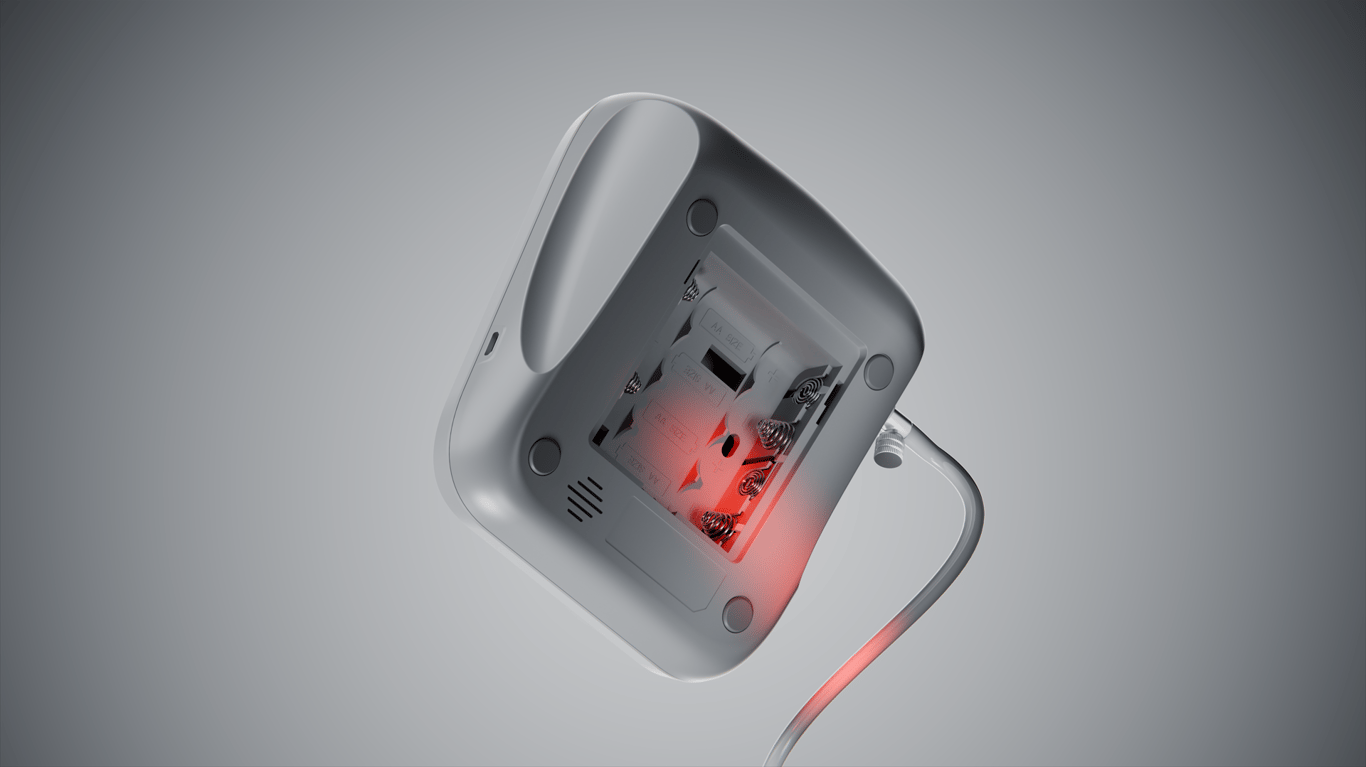
Learn how to convert raw engineering CAD files (STEP, IGES, SolidWorks) into photorealistic product stills and commercial 3D animations without waiting on physical prototypes or expensive studio shoots.
What it is
CAD-to-render product visualization is the process of taking raw 3D engineering files (like STEP, IGES, or SolidWorks assemblies) and turning them into photorealistic marketing images and commercial animations without needing a physical prototype or photo shoot.
Why it matters
Raw CAD screenshots look flat and unfinished, which lowers perceived value on a landing page, crowdfunding campaign, or investor deck. Shipping pre-production prototypes to a traditional photo studio costs thousands of dollars in logistics and reshoots, and a camera still cannot show how internal components work. A proper CAD-to-visual pipeline lets you launch marketing campaigns months before tooling finishes while building a reusable library of hero stills, exploded views, and ad-ready videos from one engineering file.
How We do it
Export clean geometry from your CAD software. Export your assembly as a STEP (.step/.stp) or IGES file instead of an STL. Hide invisible internal parts like hidden screws, inner ribs, and circuit boards unless you need a cutaway view. This keeps files light and prevents viewport slowdowns.
Convert NURBS surfaces into a clean polygon mesh. Engineering tools use mathematical curves (NURBS), while rendering engines use polygon meshes. Re-mesh the geometry with enough density on curved surfaces so cylindrical parts and fillets stay smooth in close-ups.
Add micro-bevels to sharp edges. Manufactured parts never have infinitely sharp 90-degree corners. Add subtle 0.2mm to 0.5mm bevels to seams and edges so light catches natural highlights along the silhouette.
Build physically accurate materials. Replace flat CAD color swatches with real-world shaders. Set accurate Index of Refraction (IOR) values for glass, silicone, and clear plastics, then layer subtle roughness maps, brushed metal grain, or molded textures so surfaces react naturally to light.
Light the product like a physical photography set. Do not flood the model with even ambient light. Use large softbox panels to create smooth gradients across curved surfaces, place black negative-fill cards just out of frame to deepen edge contrast, and add a crisp rim light to separate the product from the background.
Render your core still angles first. Lock in lighting and shaders by rendering high-resolution hero angles (front three-quarter, macro details, and lifestyle scenes) before committing heavy render time to video.
Animate key product features and mechanics. Once the look is approved, animate smooth camera sweeps, exploded component reveals, or internal functions like airflow, waterproofing, or snapping latches to create high-converting video assets for product pages and paid ads.
What usually goes wrong
Exporting low-resolution STL files: STLs triangulate smooth curves into faceted surfaces and strip clean UV data, causing visible shading glitches across glossy plastics and metals.
Leaving edges razor-sharp: Without micro-bevels, edges disappear into the background and make hardware look like an old video game asset.
Using uniform glossiness: Applying one flat roughness value to an entire housing makes materials look synthetic. Real surfaces always have micro-variation.
Over-lighting the scene: Illuminating every side equally kills shadows, flattening the product's shape and hiding industrial design details.
Skipping file organization before handoff: Sending a single merged mesh with every part fused together forces artists to spend hours separating components before they can assign materials or animate moving parts.
How to tell if it worked
Visual realism check (Immediate): Zoom in to 100% on curved edges and glossy surfaces. You should see smooth highlights along the bevels, subtle texture in the reflections, and zero faceting or dark shading artifacts.
Landing page and ad performance (2 to 4 weeks post-launch): Compare click-through rates (CTR) on paid ads and add-to-cart or waitlist conversion rates on your product page against older CAD screenshots or static studio photos.
Sales and fundraising velocity (30 to 60 days): Track how often prospects, retail buyers, or investors ask "how does it work?" A clear mechanical animation cuts explanation time in half during pitches.
For the Airlux Fan 3D project at cleverpoly Studio, we turned raw engineering CAD files into a complete launch package of product stills and feature animations:
The input: Raw CAD assembly files for the Airlux fan that needed geometry prep before any visual work could start.
The production pipeline:
CAD cleanup and topology repair: We stripped unnecessary internal geometry, re-meshed curved housings, and fixed bad topology so smooth surfaces and edges shaded cleanly without artifacts.
Material look-development and client approval: We applied realistic, physically accurate materials across the fan body, grille, and trim, then sent look-dev test renders to the client for approval before locking the scene.
Final stills and feature animations: Once approved, we rendered standalone studio product stills alongside a full 3D product video featuring an exploded view animation and key airflow and hardware feature callouts.
The outcome: The client got a cohesive library of standalone e-commerce stills and technical animations built directly from their engineering model, ready for launch pages and marketing campaigns without waiting on a physical studio shoot.
Need Help Turning Your CAD Files Into Launch Visuals?
At Cleverpoly Studio, we take raw STEP and CAD assemblies and handle the entire cleanup, texturing, lighting, and 3D product animation pipeline for you. Send over your engineering files and get studio-grade stills and launch videos ready for your website, ads, and investor pitches.